
In my day job as an IT engineer, one of my responsibilities is creating Windows 10 base images and capturing them for deployment. We use Acronis Snap Deploy 5, which works great for deploying systems to our small-to-mid-sized clients.
Recently, we received a batch of new Dell Optiplex 3070 PCs, and I went through my standard process for creating a Windows 10 build (version 1909). When I booted up to my Acronis disc, I was surprised to find the program could not see the built-in hard drive. After investigating, I realized the issue was with the new m2 Solid State Drives that were using the NVMe storage. The default Acronis disc, which was Linux-based, did not have the appropriate drivers to read the storage.
After researching, I found I would need to build a new, custom Acronis disc based off of WinPE and inject the required NVMe drivers. You will need the Acronis Snap Deploy Management Console installed to be able to create a custom boot image.
Please note: for my scenario, I was working with Dell PCs and obtained the required Dell drivers to inject. This same process should theoretically work on different hardware as long as you’re able to obtain the appropriate drivers.
First, download the latest Windows 10 Intel Rapid Storage Technology drivers from here: https://downloadcenter.intel.com/product/55005/Intel-Rapid-Storage-Technology-Intel-RST-
Extract the drivers to a location of your choice and make a note of the folder.
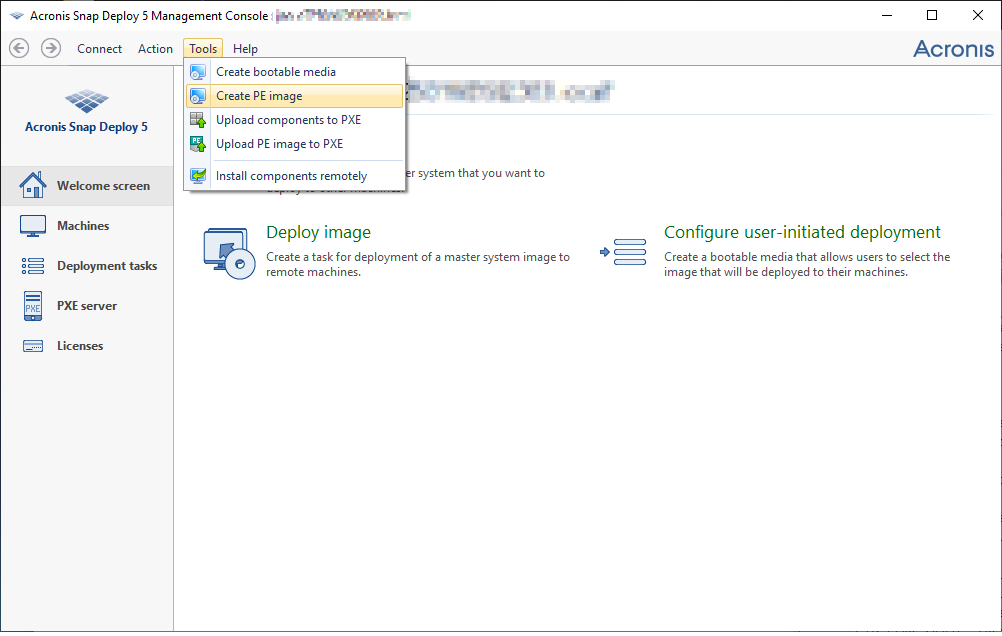
Launch the Acronis Snap Deploy 5 Management Console. On the menu, go to Tools > Create PE image.
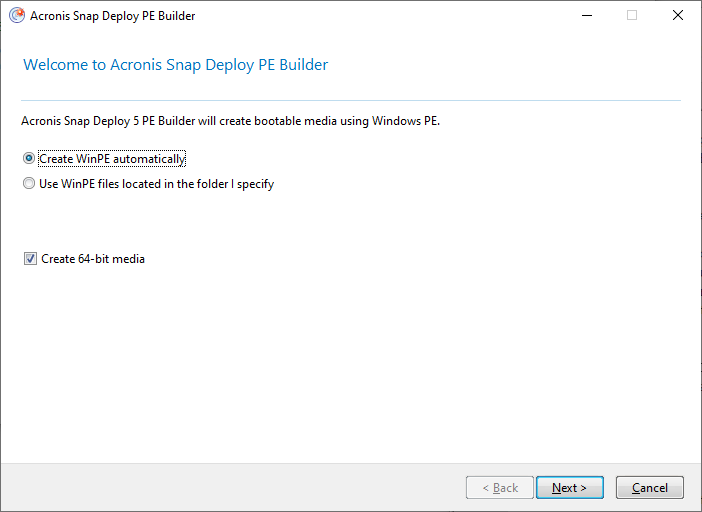
In the following screen, make sure Create WinPE automatically is selected, leave Create 64-bit media is checked and click Next.
On the left, click on Autostart. On the right, click Automatically start Acronis Snap Deploy 5 Agent. Then click Next.

Select ISO image (for my purposes; if you are using the PXE server or a WIM image, you select accordingly). Then click Next.

Select a location to save the new ISO file and click Next.

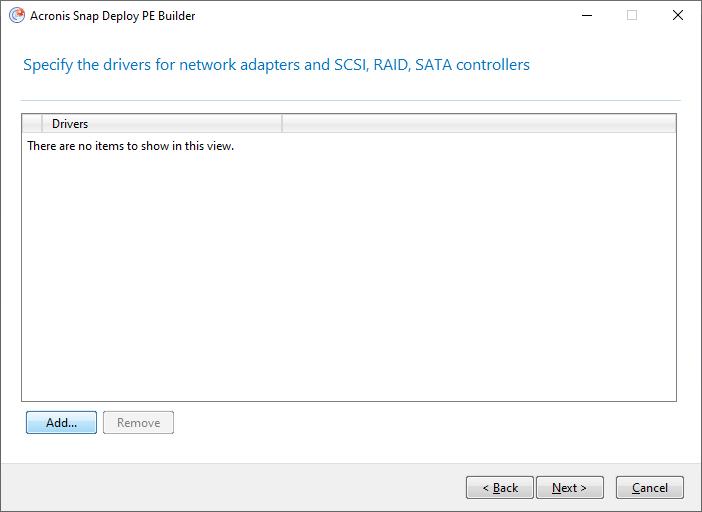
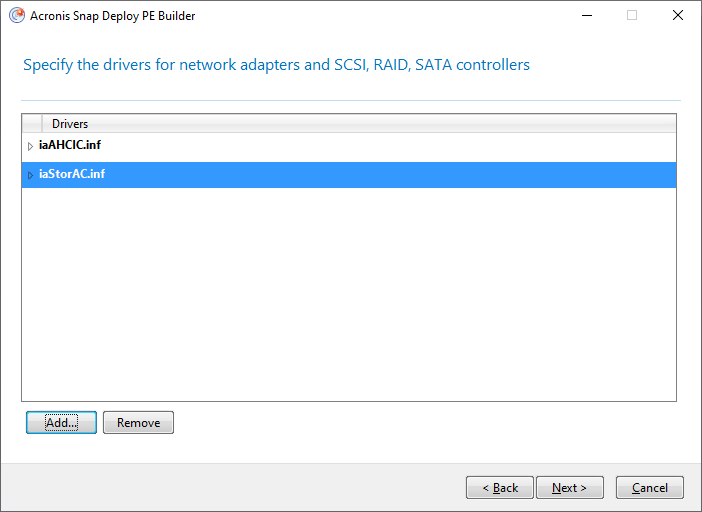
On this screen, you will add the NVMe drivers. Click Add….
Browse to the folder where you extracted the drivers previously. You’ll want to drill down to the Windows10-x64 folder. Select it in the list and click OK.
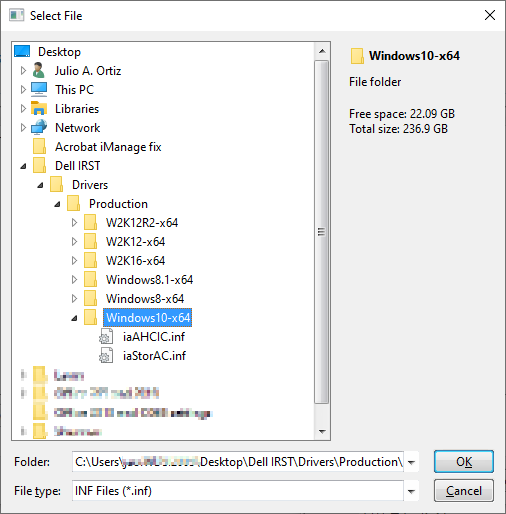
Verify you see the iaHCIC.inf and iaStorAC.inf files listed, then click Next.
Now you’re ready to create your ISO file. Review that the settings are correct and click Create.
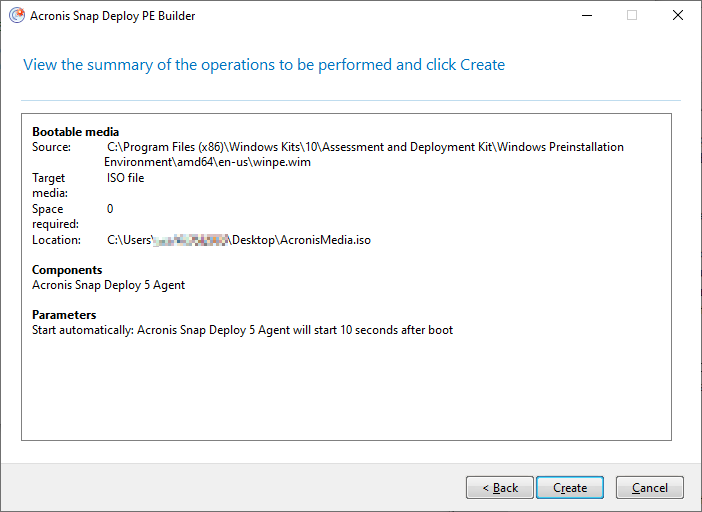
This will generate a new Acronis boot image that you can burn to disc. Booting from this disc will now allow you to see the NVMe storage you were not able to see before on newer Dell PCs and capture your image file.
Please note: this content is provided without any warranty or guarantee of suitability and is for educational purposes only.
